Enhancing Your Rural Internet: Using the MikroTik ATL Outdoor Device
- Blog
- 17 Jul, 2024
Enhancing Your Rural Internet: Using the MikroTik ATL Outdoor Device
Living in the countryside often means relying on mobile operators for internet access, especially when traditional broadband options are limited. Many residents find themselves grappling with slow speeds despite having a router provided by their carrier. If you're considering upgrading to a more robust setup, such as installing an antenna on your roof, there are several crucial steps to take before making that investment.
1. Locating the Cell Tower
Before you proceed with any hardware changes, it's essential to pinpoint the location of the nearest cell tower relative to your home. Your router might currently be positioned in a window facing one direction, but the tower could be located in another. Moving your router around and using resources like cellmapper.net can help you identify all nearby towers and test different connections.
2. Assessing Signal Strength
Once you've identified the best possible location where your internet speed is highest, assess the quality of the signal. A strong signal indicates that your existing LTE router may suffice, and any speed issues you're experiencing could be due to network congestion. In such cases, contacting your mobile operator to request increased bandwidth might be the solution, as additional antennas won't necessarily improve your speed.
3. When to Consider a Larger Antenna
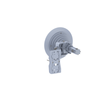
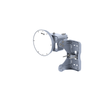
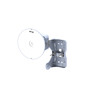
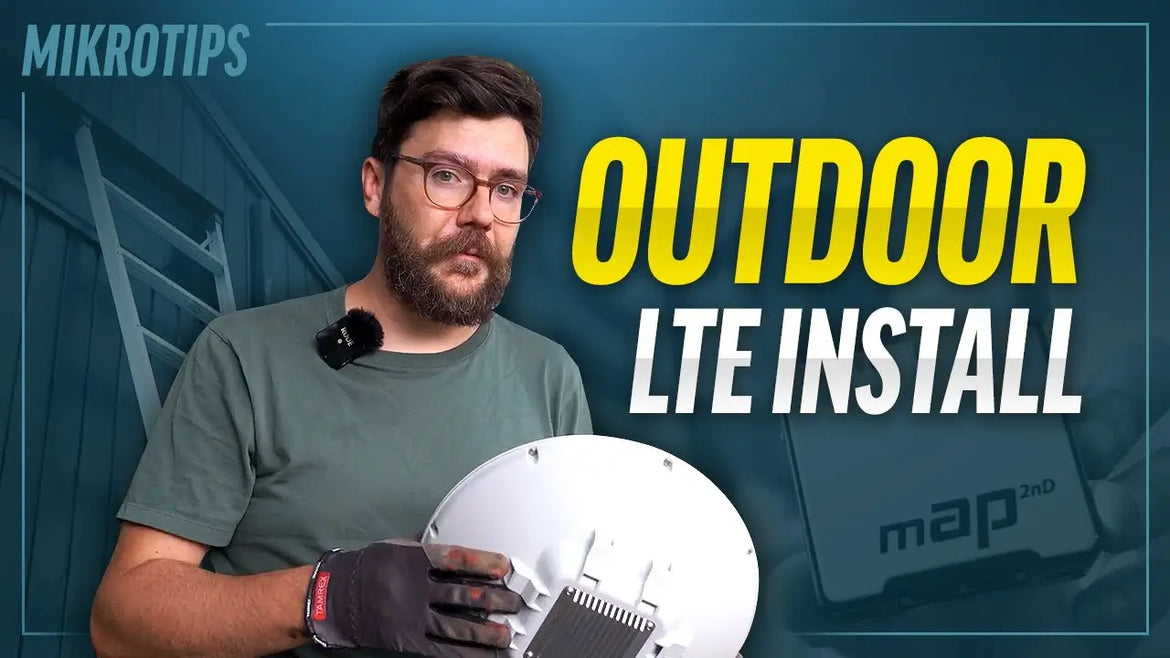
If you find that your signal strength is weak, especially due to distance from the tower or obstructions like trees, upgrading to a larger antenna mounted higher up could be beneficial. This is where the MikroTik ATL outdoor device comes into play, offering an all-in-one solution that requires just an Ethernet cable to connect to your indoor Wi-Fi access point.
Setting Up the MikroTik ATL Unit
When preparing to install the MikroTik ATL unit, ensure you have the necessary equipment and mounting solution ready. While the device is typically designed for round masts, you can adapt its installation method for square masts using suitable adapters or clamps.
Connecting Your Setup
To maintain a clean and efficient setup, consider running your Ethernet cable through the mast, especially if it's hollow. MikroTik provides adapters like the Q-MX, which can seamlessly integrate with square masts, preserving both aesthetics and functionality.
Powering Your Devices
Utilising Power over Ethernet (PoE) simplifies power management, especially in remote setups. By connecting a mAP (a MikroTik router with PoE capabilities) to your setup, you can power both the ATL device on the mast and additional devices like cameras via its USB port. This approach minimises cable clutter and ensures efficient power distribution.
Mounting and Final Adjustments
Securely mount the mast in its intended location, ensuring stability and optimal signal reception. While aligning the antenna to the tower is crucial for maximising performance, pre-planning the mounting location and method can streamline this process.
Conclusion
Enhancing your rural internet connection involves strategic planning and leveraging reliable equipment like the MikroTik ATL outdoor device. By understanding your signal strength and choosing the right setup, you can significantly improve your internet experience without unnecessary investments. Whether you're tackling slow speeds or looking to expand coverage, taking these steps ensures you're equipped to make informed decisions for your connectivity needs in rural areas.

Watch Full Video Here: https://www.youtube.com/watch?v=ghSPsiOuFzg


